Do you have all of your letters stitched? If not, no worries, autumn doesn't officially begin until September 23, so you have plenty of time! Fall is my favorite season, so I am eagerly awaiting its arrival, although I am actually sorry to see summer go this year!
PATTERN/EMBROIDERY DESIGNS
One more time, here is the pdf with all of the letter/motif designs, as well as enlarged versions of most of the motifs.
MATERIALS
Let's put the bunting/banner together. If you weren't here for Week 1 of the stitchalong, gather the following materials:
- 6* (or more) 9" x 7" (23 cm x 18 cm) fabric rectangles for backing**
- 6* (or more) 8.5" x 6.5" (21.5 cm x 16.5 cm) rectangles of lightweight iron-on interfacing**
- 1 package/3 yards extra wide double-fold bias tape (or make your own)
- scissors
- pins/sewing clips
- sewing machine
*Cut more than 6 if you want to add extra autumn motifs or blank "flags" to your bunting (in addition to the letters).
ATTACH INTERFACING
Affix lightweight interfacing to the wrong side of each quilting cotton rectangle. These will become the backing for your embroidered pieces. Center the interfacing so that there is approximately 1/4" between it and all edges of the fabric.
SEW FRONTS AND FACINGS TOGETHER
With right sides together, sew an interfaced quilting cotton rectangle to the back of each embroidered rectangle using a 1/4" seam allowance. Sew only the sides and bottom. The top edges are left open to turn the embroidery right side out; the raw edges will be enclosed later. To make turning the fabric easier, take the corner stitches at a 45 degree angle, rather than making them square.
TRIM EDGES & CORNERS; TURN TO OUTSIDE; TOPSTITCH
Trim the corners close to stitching. You could trim along the other stitching as well; I opted not to because I felt like the seam allowance was already small enough and I didn't want to compromise the strength of the seam/fabric.
Flip each stitched rectangle right side out. Take your time here--use a turning tool (I use a chopstick) and a hot iron to make sure the edges are straight and the corners as sharp as possible. If needed, roll the edges of the rectangle a little toward the back to keep the quilting cotton from showing from the front.
Once you are happy with the turned edges, topstitch (1/4" from edge) around the sides and bottom to hold everything in place.
Trim any loose threads from the top of each rectangle.
PREPARE BIAS TAPE
Remove bias tape from the package and iron out creases. Find the center of the tape by matching the short edges together; mark with a pin at the center fold.
CENTER & SPACE RECTANGLES; PIN/CLIP
I had an even number of rectangles to sew onto my bunting, thus, the T and the second U needed to be on either side of the center of the bias tape.
To achieve a 2" space between each rectangle/flag, start by placing the right edge of the T and the left edge of the second U 1" away from the center of the bias tape.
Sandwich the top of each rectangle inside the bias tape and pin or clip securely in place. Be sure that the shorter edge of the bias tape is on top (on the front of each rectangle) and the longer side is towards the back.
Keeping a space of two inches between the rectangles/flags, continue to work from the center towards the outside edges, sandwiching each new rectangle inside the bias tape and pinning or clipping securely in place.
STITCH
Slowly and carefully, begin stitching at the far left end of the bias tape; with the short side up, stitch through to the back, closing the bias tape as you go. Stitch a continuous seam from the left side of the banner to the right. Each time you reach a rectangle/flag, backstitch a time or two at each edge for added stability. Be sure that the raw edges of each rectangle are fully enclosed within the bias tape.
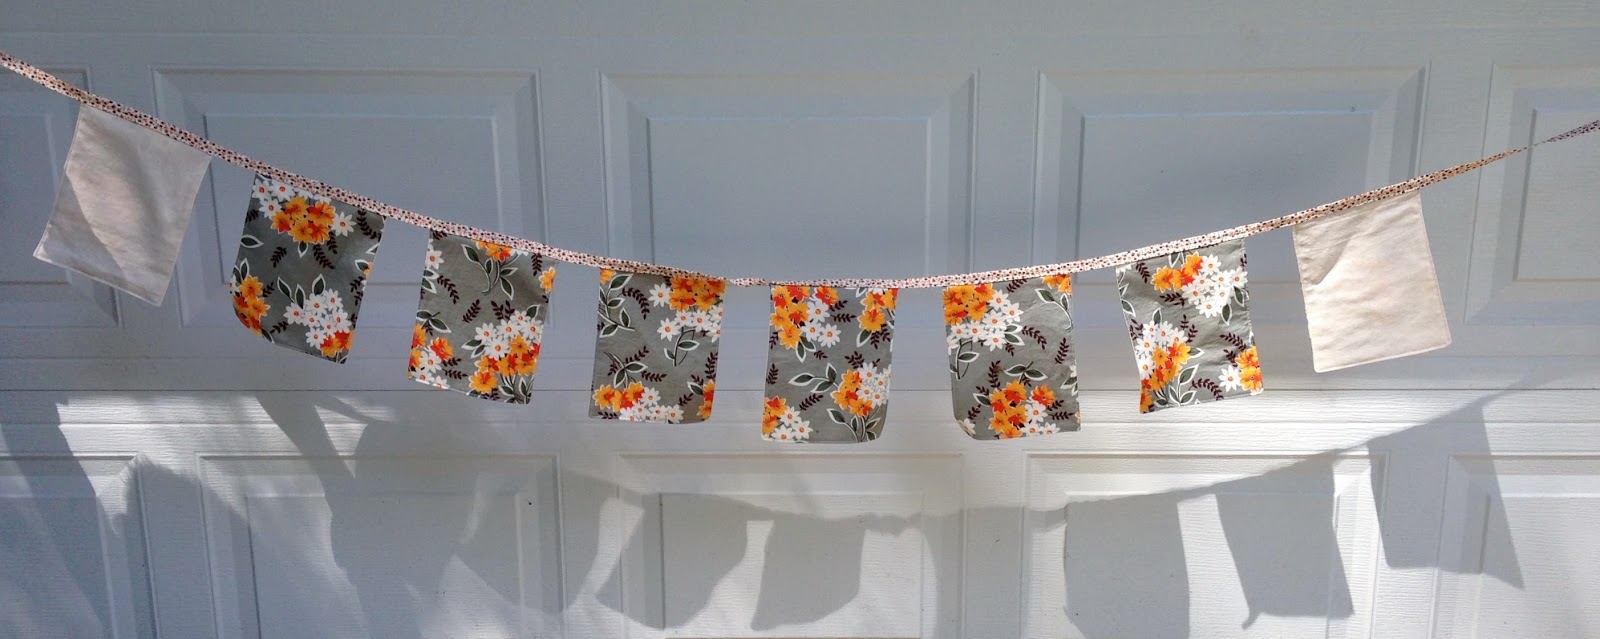
Your banner/bunting is finished! As you can see, I flipped my two end rectangles around so that the quilting cotton showed on the front side at each end. I'd waited to long to use that Flea Market Fancy to hide all of it in the back!
Thanks for following along this summer as I brought you this stitchalong; I had fun preparing each letter and I'm super excited to hang up my new autumn banner!
As always, we'd love to see this or any other project inspired by a Feeling Stitchy post on Instagram (@feelingstitchyish) or in the Flickr Group!


No comments:
Post a Comment