Wow. That's how I feel sometimes when I am trying to finish an embroidery project. I begin jumping up and down and get a little whiney inside like the little child in the back seat of the car crying out: "Are we almost there, yet?" Some projects take an awful long time, and give us some tremendous problems along the way, and maybe, it's the project we put away for months to take out again and determine to finish it.......
And, when you are finally done......who gets it? Don't you wish then, you could share it with more than one person? Well, you can. I am going to show you how.
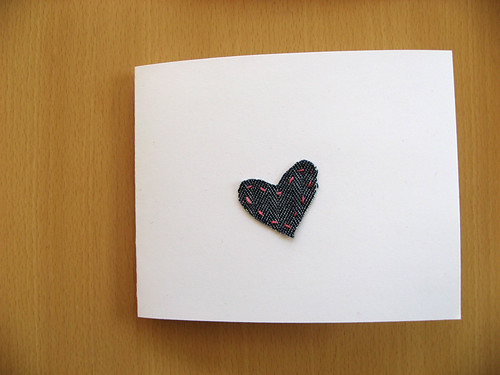
First of all, you can use your own embroidery, but if you are interested in the design I am showing you, it will be on my blog for free use. I will try to put up the pattern today after I blog here. Here is the finished design.

Take the completed embroidery piece to a place that does color copies and have them reduce it to fit within 5.5"tall x 5" wide or slightly smaller. Fold a 11" x 8.5" sheet in half and see if you can line two designs to fit pasted next to each other. Then, have them run copies of your work on card stock paper. If you are able, you can run these color copies from your home printer, after scanning the work, or photographing the work and scanning the photograph.

When you cut the cards out, use a scissors with an design edge so you don't have to worry about perfection and it gives it that fabric look. You can purchase matching and fitting envelopes at the scrapbook stores or craft stores in the scrapbooking section.
I also made a nice booklet to hold the cards for gift giving, which I will show you how to make. First, I used heavier cloth, like duck, twill, or drapery weight. I even did the embroidery on duck cloth, but if you need to transfer by tracing, you probably will have to do muslin for the embroidery piece. If you already have the embroidery, pick something that will fit the space of this pattern and cut it down accordingly........the embroidery boundaries should measure approximately 4" x 5".

Your major book piece will be slightly larger than 8.5" x 11", I pinked the fabric all around. Attach your embroidery piece to this on the right right side, leaving room around the top and outer edge for machine stitching later. I attached my embroidery with a simple stitch, but you may want to machine stitch it on. I like the frayed edge, so I used fabric that I knew would fray nicely.

So, here I am applying the embroidery after attaching the piece to the front. Notice the placement on the side and top, leaving room for machine stitching later.

After you finish your embroidery, cut another piece of matching fabric to line the inside of the book, 11" x 6", and stitch them together all around the outside. Then, looking at drawn pattern, fold the bottom up making a hem at the top and stitch those sides closed. Then, sew two lines in the middle to hold a pen. Then stitch two pieces of twill tape or ribbon to tie the book closed. I used fray check on the twill tape open end.

Then add your pretty cards that you made earlier........


And there you have it! I hope I explained this well enough to follow, but I don't mind you emailing me if you have questions. I decided that after the embroidery cards were sent, this made a nice notebook for your purse with paper pads and pen. I wanted to purchase a nice matching pen before posting, but I forgot to go get one. Imagine the pen in the middle of the open book. It fits really nice. I know you can't see the pattern real well, but maybe you can print it out, and then you will see it better. Enjoy!