Showing posts with label pearl cotton. Show all posts

December 18, 2017

MooshieStitch Monday: Kamal Kadai Stitch (2 color with pearl cotton)


Hello there! One of my favorite embroidery techniques is Kamal Kadai work.

My previous attempts at Kamal Kadai, I stitched flowers using 6 strand cotton floss. I was curious to see how different it would look with pearl cotton and using two colors.

To start, I referred to this photo tutorial.


I drew a 3.5 inch by 3.5 inch square with a water soluble pen onto my fabric.

Find the center of the square - draw lines and create 4 boxes within that square.

Then I made a mark every 1/4 inch - so there were 6 marks total between the middle box line and each corner ... hopefully that makes sense and the photo helps with the explanation!


Starting from the lower left square, bring your needle up from the top mark and stitch over the lowest mark on the upper right square (as seen above).


Continue by stitching from the next mark in the upper right square and stitch down to the next mark in the lower left square. Keep doing this back and forth until you finish stitching to each mark (as seen below). You will then want to couch down in the middle.


Now it is time to start weaving with your second color.


If you want to see a more detailed tutorial on how to weave - check out my first Kamal Kadai flower post for more step by step instructions.


Once you have weaved both squares, you will repeat the steps.

Stitch your lines and couch them down in the middle.


All finished weaving! Now my favorite part - removing the pens lines with water!


There you have it - two color pearl cotton Kamal Kadai stitch.


I really liked how this turned out. I think pearl cotton is much easier to use for this stitch than the cotton floss.

The two color effect is great for this stitch also - I now want to try it with other colors. Black and white would be cool or green and red for Christmas!


If you want to see my other version of the Kamal Kadai flower in cotton floss - check out this post!

See you next time!


October 31, 2016

MooshieStitch Monday: Plushwork (with pearl cotton)

Plushwork with pearl cotton, a tutorial by Michelle for Mooshiestitch Monday on Feeling Stitchy

My last few posts have shown the plushwork technique with tapestry wool and cotton floss. I wanted to keep experimenting with different flosses, so when a couple reader comments suggested pearl cotton, I decided to give it a try!

I chose an orange and green pearl cotton #5 and used the same template in my previous posts.


Plushwork with pearl cotton, a tutorial by Michelle for Mooshiestitch Monday on Feeling Stitchy


Layer 1: Orange

I have lots of spacing in between my stitches - but it is the first layer and I will be covering it up with more layers - so it doesn't need to be perfect!

Plushwork with pearl cotton, a tutorial by Michelle for Mooshiestitch Monday on Feeling Stitchy

Layer 2: Green

Plushwork with pearl cotton, a tutorial by Michelle for Mooshiestitch Monday on Feeling Stitchy

Layer 3: Orange

Plushwork with pearl cotton, a tutorial by Michelle for Mooshiestitch Monday on Feeling Stitchy

Layer 4: Green

Plushwork with pearl cotton, a tutorial by Michelle for Mooshiestitch Monday on Feeling Stitchy

Time to cut through the layers and remove the plastic template.

Plushwork with pearl cotton, a tutorial by Michelle for Mooshiestitch Monday on Feeling Stitchy

Plushwork with pearl cotton, a tutorial by Michelle for Mooshiestitch Monday on Feeling Stitchy

Here it is before "fluffing"..

Plushwork with pearl cotton, a tutorial by Michelle for Mooshiestitch Monday on Feeling Stitchy

... and after "fluffing".

Plushwork with pearl cotton, a tutorial by Michelle for Mooshiestitch Monday on Feeling Stitchy

I decided to trim the pearl cotton with my scissors to see if it would change the appearance.

Plushwork with pearl cotton, a tutorial by Michelle for Mooshiestitch Monday on Feeling Stitchy

Here it is after trimming with the scissors and fluffed.

Plushwork with pearl cotton, a tutorial by Michelle for Mooshiestitch Monday on Feeling Stitchy

Plushwork with pearl cotton, a tutorial by Michelle for Mooshiestitch Monday on Feeling Stitchy

I do like how the plushwork turned out with the pearl cotton, but I have decided the best results are when you use the tapestry wool.

Plushwork with pearl cotton, a tutorial by Michelle for Mooshiestitch Monday on Feeling Stitchy

Plushwork with pearl cotton, a tutorial by Michelle for Mooshiestitch Monday on Feeling Stitchy


P.S. I saw a reader comment on the previous post asking how the plushwork does not fall apart when you cut it. Here is a photo of the back.

Plushwork with pearl cotton, a tutorial by Michelle for Mooshiestitch Monday on Feeling Stitchy

It is actually the surface satin stitch - where you will bring the thread up from the back right next to the previous stitch on the same side - there are only long threads going across on the front side of your work. (This plushwork tutorial explains it also)

Compare the results from my other posts:


Happy Halloween!!

September 19, 2014

Colour Complements Threads Test-drive

Colour Complements Threads Test-drive

closeup Colour Complements threads

Remember the Colour Complements giveaway we did recently?

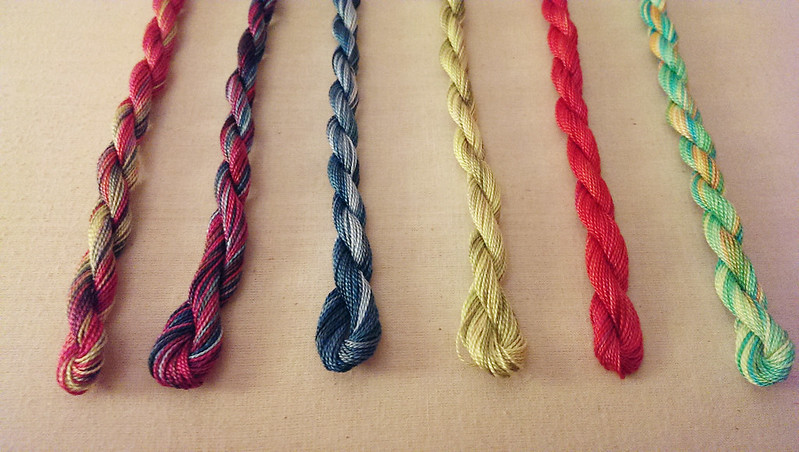
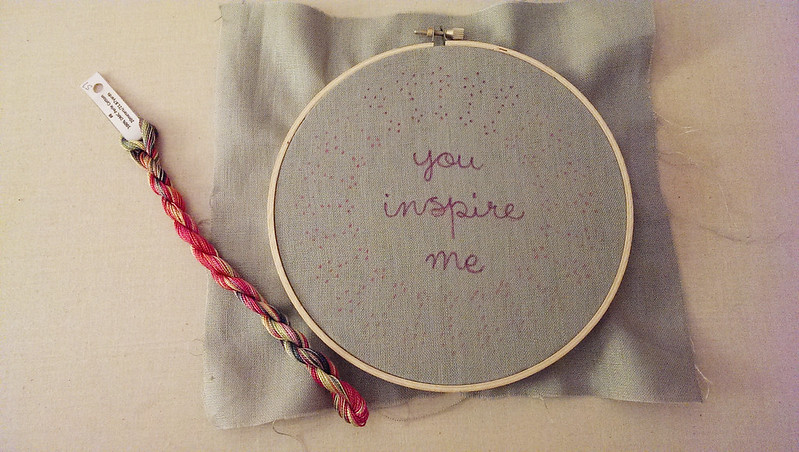
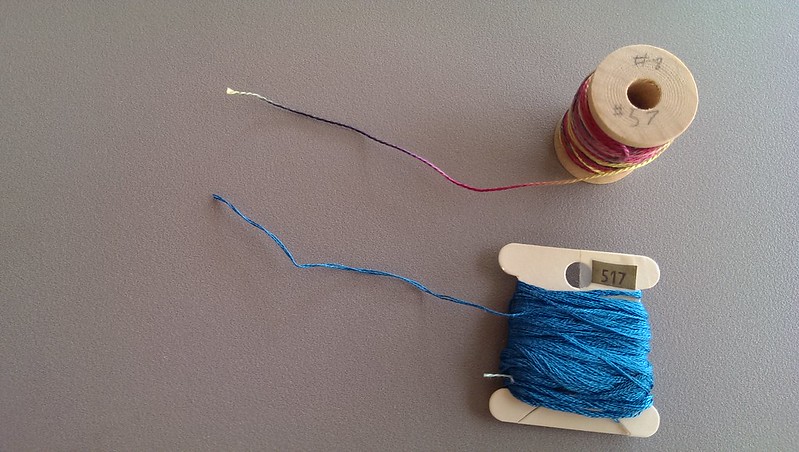
Well, Lorraine was sweet enough to send some threads my way so I could experience their loveliness for myself! Here they are, in all their multicolored glory on my much-used ironing board. :)

slightly better photo of my Colour Complements threads

I chose a favorite from the shades, #57, and sat down with the wonderful free pattern we shared a few weeks ago:

a little stitching in the works!

I chose Size #8 pearl cotton, which is comparable to 2 strands of embroidery floss, as you can see in this picture:

with 2 strands of floss for comparison

By the way, there's a trick to using threads that are wound in a hank, like pearl cotton - I made a terrible tangled mess when I just lazily pulled the thread from its hank.

Check out this helpful tip on the DMC site on cutting your pearl cotton threads before stitching, to avoid my mistake. :)

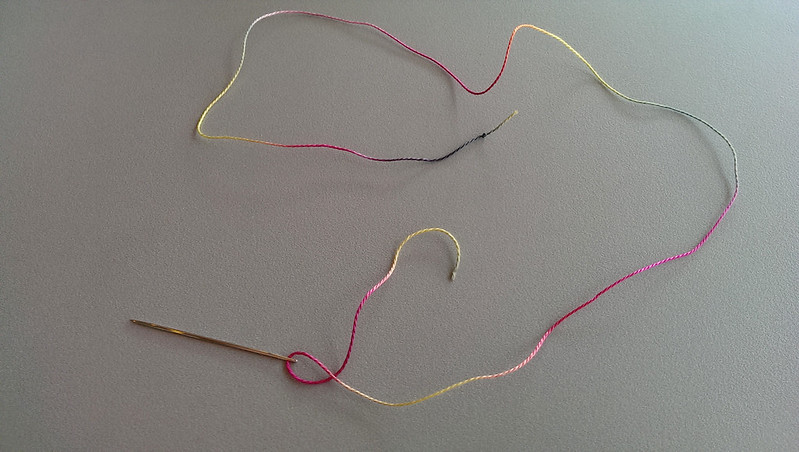
Here's a glimpse of the lovely range of color in one length of thread:

example strand


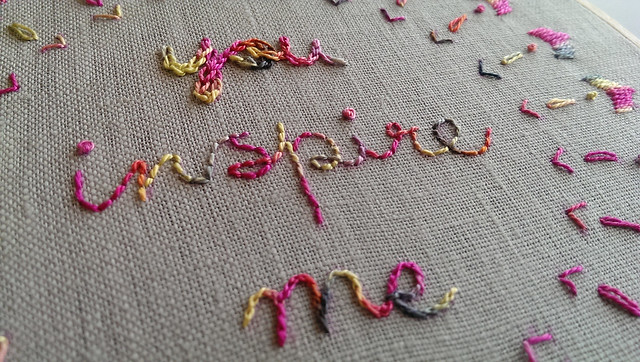
I tried out 3 different stitches on the lettering, chain stitch (top), back stitch (middle), split stitch (bottom):

3 stitches


My favorite stitch with this thread is back stitch - it shows the color changes very nicely.

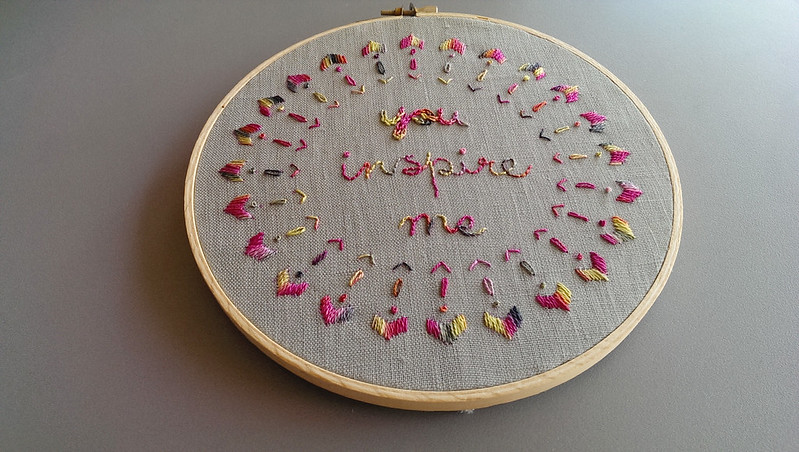
Here's my finished stitching! Thanks again to Colour Complements for the lovely thread and Ortal for the pattern: get the free pattern here.

finished Colour Complements Thread project

Hi, I'm floresita, editor of Feeling Stitchy. I'm an avid stitcher, knitter, and crafter. You can see more of my stitching on Instagram and my blog. My vintage transfer collection is on Vintage Transfer Finds.

Feel free to email me with any ideas for the blog!

August 15, 2014

Giveaway - Hand-Dyed Threads from Colour Complements!


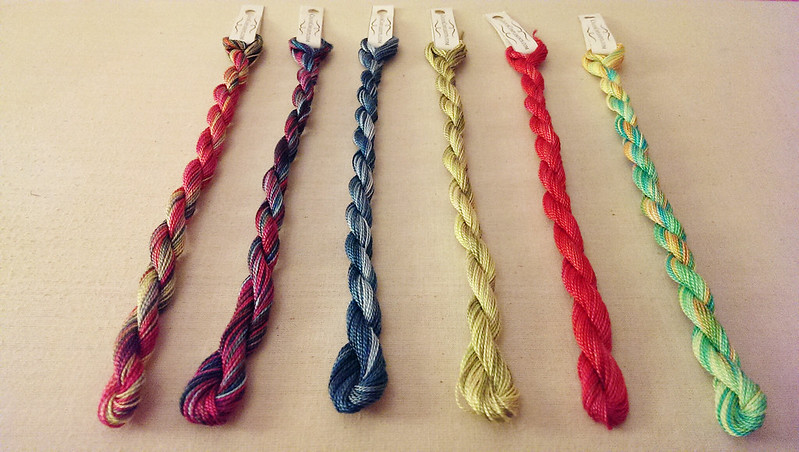
Earlier this week, Lorraine from Colour Complements wrote to ask if we'd be interested in doing a giveaway of her lovely hand-dyed threads - well yes, absolutely!


Aren't they amazing? Part of me would like to snap them up just to stare at them, and not do any stitching with them at all!


I mean really, how gorgeous are they?


Lorraine hand-dyes DMC perle cotton in sizes #5, #8, #12, and her Etsy shop also features fibers like silks, rayon, and other deliciously sparkly stuff.

I think you'll agree her shop is like a candy store for thread-lovers!


One lucky Feeling Stitchy reader will receive the 5 threads of your choice! Just leave a comment on this post by Friday, August 22, when I will choose one random winner. This giveaway is open to all of our readers!

In your comment, please tell us which of her threads is your favorite, and what you think you'd stitch with it!

Hi, I'm floresita, editor of Feeling Stitchy. I'm an avid stitcher, knitter, and crafter. You can see more of my stitching on Instagram and my blog. My vintage transfer collection is on Vintage Transfer Finds.

Feel free to email me with any ideas for the blog!

SITE DESIGN BY RYLEE BLAKE DESIGNS