

Step 1: Trace your letter onto paper, cut out, and place on your felt
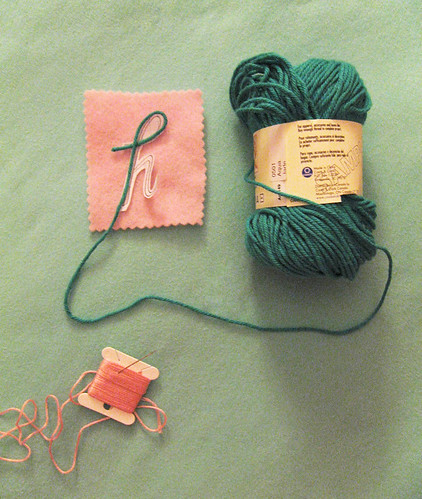
Step 2: Loop your yarn to form the first part of your "h"
I chose a chunky weight yarn, but experiment with whatever yarn you have on hand. Every yarn has a different "drape" so try a few and see what you like!
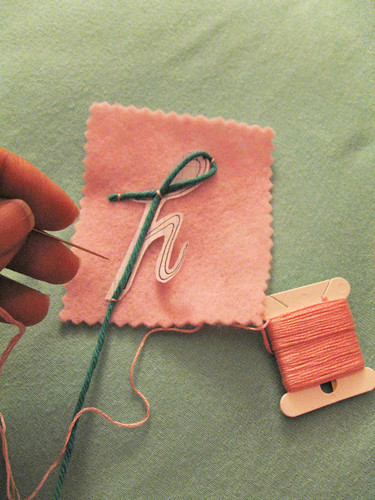
Step 3: Add a few stitches to keep your yarn in place, and trim (I made my "h" with 2 pieces of yarn)
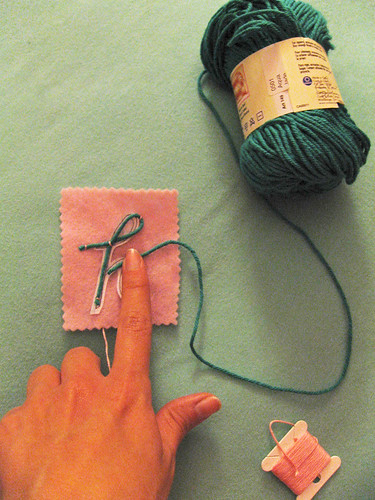
Step 4: Lay down the second piece of yarn, add a few stitches to keep it in place, and trim
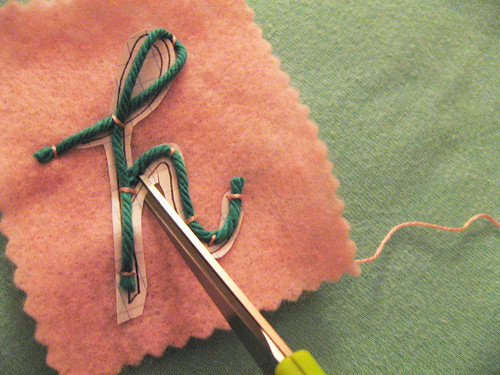
Step 5: Use sharp scissors to clip into the paper carefully (without clipping your yarn!) :)
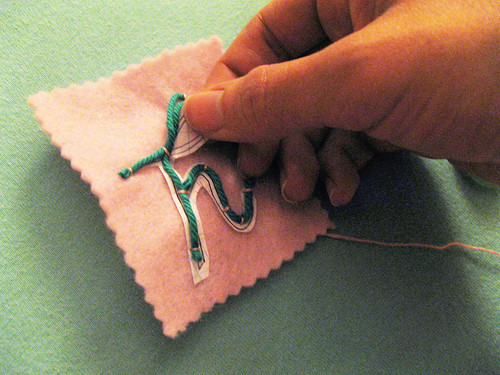
Step 6: Tug the paper out very carefully
This is the trickiest step - don't panic if your stitches come loose - just have your needle ready to re-stitch as necessary.
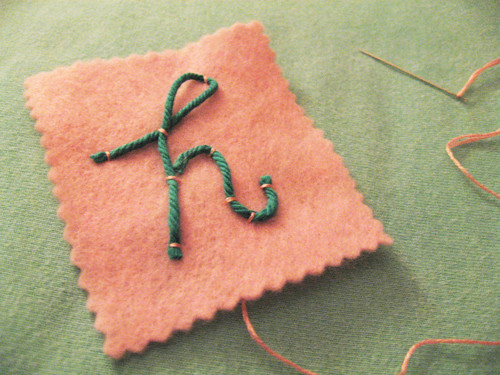
Step 7: Briefly admire your work :)
I'm not kidding! It looks pretty nice so far, eh? :) I kind of liked it as is, but I added more stitches just in case...
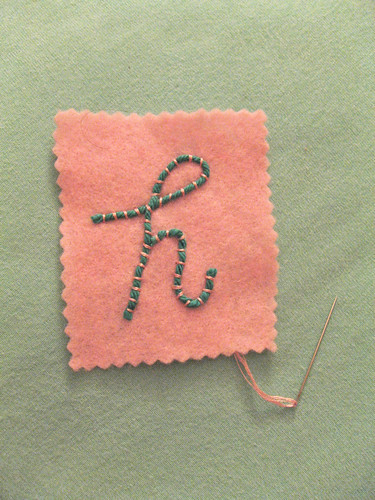
Step 8: Add remaining stitches
Stitch as much or as little as you like. Also, experiment with thread color vs. yarn color - I chose a combo that would show up nice and contrast-y for these pics. :) My advice in terms of color (since I am usually stumped) is keep it simple - I used three shades of felt I had on hand and 1 shade of floss.
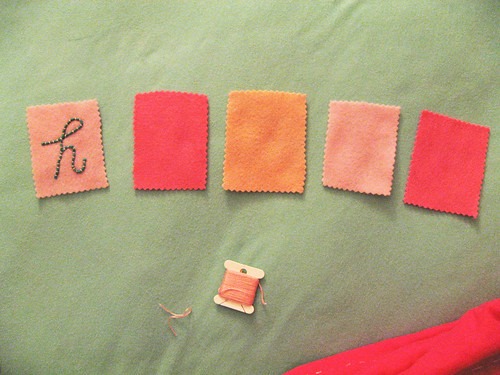
One down, 4 to go! :)
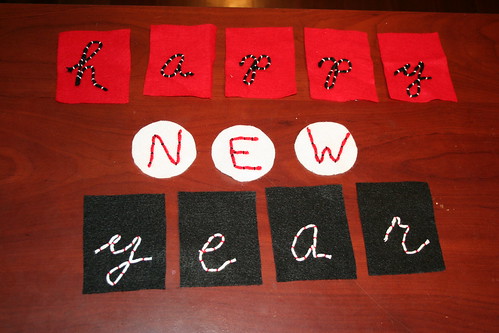
For all of you who are just now tuning in - welcome to the January Stitchalong! Last week I shared a free template with you that has a nice script alphabet, two template shapes, and ideas for a banner layout:

From your comments, you guys are interested in a range of things, so feel free to experiment with couching, use the banner templates, use just the alphabet, or whatever you like!
To join in, just add your photo to the embroidery group and tag it "JanStitchalong"!
Some of you joined in right away - I love tamaratamara's elegant take on this stitchalong!
So, what do you say? I think we need to see some more stitching! :) I'll be back soon with more updates!!!


It looks great! I have never tried it! Currently, I'm trying paper quilling and making snowflakes!
ReplyDeleteBlessings,
Lorilee
Thanks for sharing!
ReplyDeleteI really love the color combination you are using! Great projects shown too. I finished my banner earlier today and just had time to blog about it. Photos are in the group pool now too! I loved this project! :)
ReplyDeletehow many strand of floss did you use? I am very new to embroidery and I love all the info I can get!
ReplyDeleteoh my gosh I am in love with this idea!!! just stunning!!
ReplyDeletehow cool is that...thank you! :)
ReplyDeleteMy goodness I LOVE the effect!! Wish I had less stark colours in my felt stash right now! xxxx
ReplyDelete@Katie - heading out to hunt for your project right now! :)
ReplyDelete@Regena - I used 3 strands of floss - mostly to keep it simple (I hate juggling 4, and 2, etc). It seemed to work out nicely. :)
Thanks everybody for your nice words! Hope you can join us!
Oh perfect- I need to make a name tag for a contest in my new quilt guild, and was trying to figure out how to put my name on. This technique will be just the ticket!!!
ReplyDeleteThis couching tutorial is pure wonderfulness. Makes me feel brave enough to stitch. Thanks!
ReplyDeletethis tutorial is amazing- thank you! i linked to your page on my blog- these instructions are perfect!
ReplyDeleteLovely!
ReplyDeleteOhhh soo cute!! I want to try!!
ReplyDeleteGreat! Thanks for sharing!
ReplyDeleteJust ran across this, on pinterest of course, LOVE IT! You make it look pretty easy too! Thank you so much for sharing. Gotta run, gotta go try this....
ReplyDeleteOh My God! So easy and beatfull. I´m brazilian woman I like very much this post
ReplyDeletegreat tutoring,like very much
ReplyDelete