Hullo! Sorry, I have been missing from my Monday posts lately. Every other month, my job entails me to work on-site and I have to travel to another island. This latest trip has lead me to find a solution in my problem of being able to submit posts while on the go.
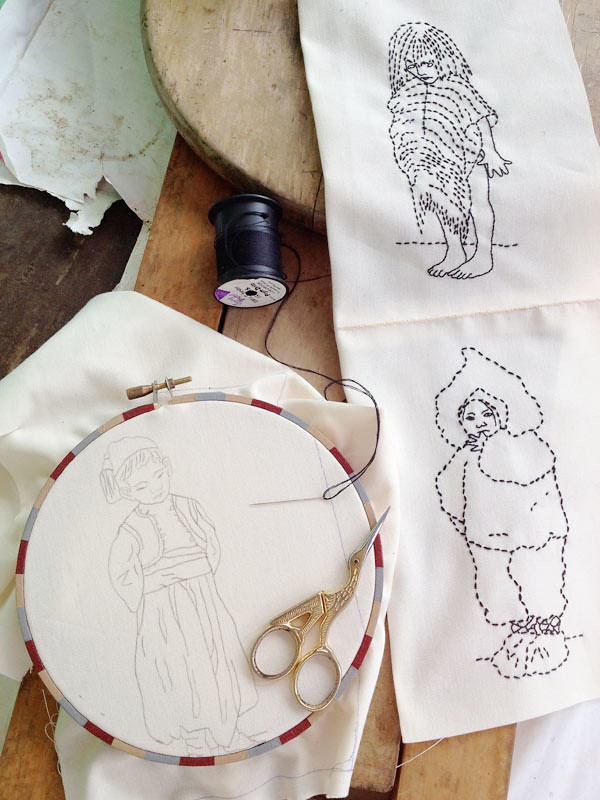
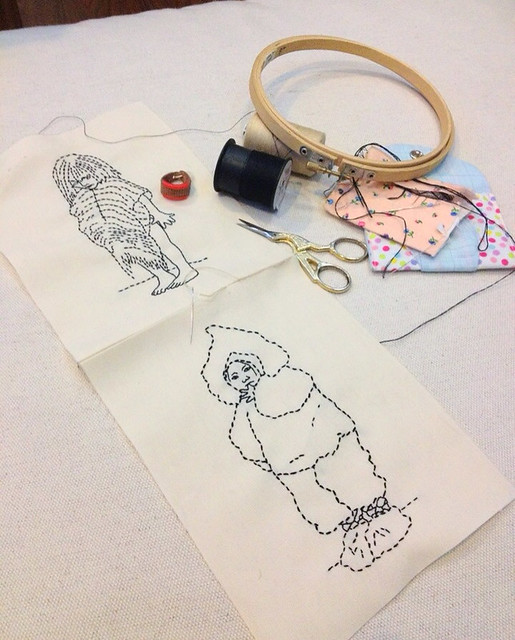
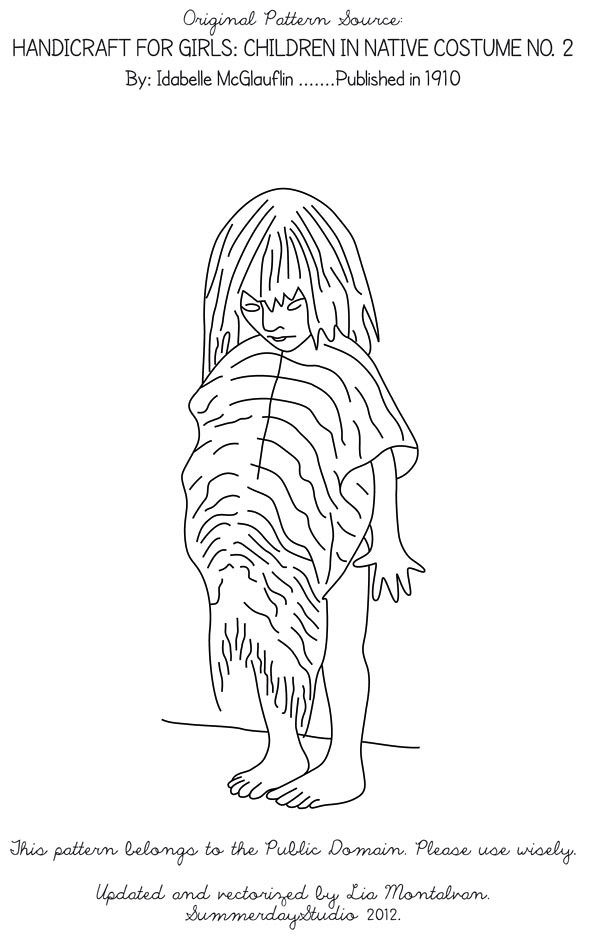
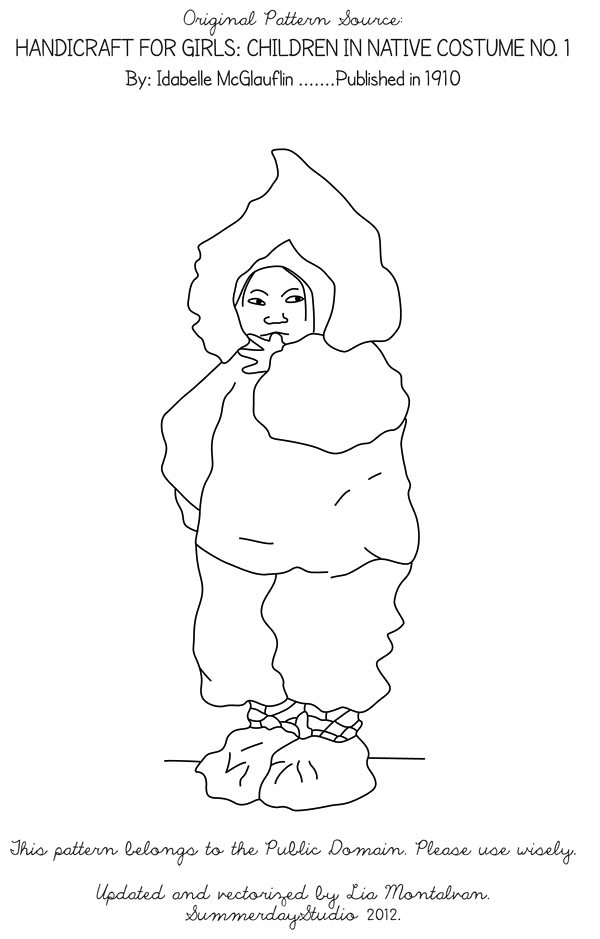
But before getting into that, here is my version of the overhand stitch used to connect the embroidery pieces together of our doll quilt. I began by ironing the quarter-inch fold of both pieces to be joined (arranged as in the reference quilt image in
Part 1). In the book, it mentioned to do this on the long side of the piece, but since I have not finished that piece yet, I will be showing you my sample from the shorter side of the two finished ones.
In the description from
Chestofbooks.com, it said to baste the stitches together. Since I was working on a short side, I skipped this part and started the stitch as illustrated in the site.
Now, I learned along the way that it states to pick up a few threads only with your needle, so I found I seemed to have placed the stitch too deep and this is more what it means:
I then proceeded to make the overhand stitch. Since you are picking up surface threads, I found it easier to let the thread tail that was set up in the beggining stick out while stitching to make sure it is encased in the overhand stitch (oh I really hope I am making sense here! Let me know if this is confusing you!). One tip said to let the needle face the chest with every stitch and I will add that the thimble came in handy since my fabric was a bit thick.
This is what it looks like after a few stitches (and what it will look like the whole way thru). The thing to remember is that there are no knots to be made. There are many different ways given to start a fresh thread. I plan on just doing the same thing as the start and just make sure that they all get encased in the stitches.
In hindsight, maybe I should have used a closer matched thread to my fabric. But it is slowly growing on me, and I might just stick to it. What do you suggest? It seems such an interesting stitch choice to connect the pieces together, as it is very visible. Maybe because it is a project for the girls to practice the stitches in the chapter? I can only wonder :-)
And now I want to share my other problem that needed a solution.
Most of my family's time is spent on the road, as our job requires it. Thankfully, hubby and I work on the same projects and our sons are not yet in school. This has not hindered me from continuing my creative life and I always set aside time for it, wherever we are.
Of all the different creative outlets I am into, it is embroidery that is closest to my heart. One of the reasons is that it is easy to bring along without taking up space in my traveling bag :-). When on a trip, I usually bring along the latest project, an embroidery hoop, threads (only in the colors I am working on), needles (tucked in a little handmade wallet), embroidery scissors and a thimble.
This little kit can already provide a little "me" time and quench creative thirst on the road. The satisfaction in embroidering something, in starting a fresh threaded needle and making that knot when it runs out is all together a calming rhythm amidst the bustle. The anticipation of another pattern to sew once one is done is something to look forward to in the midst of filing reports and making presentations. And these little embroidery projects from public domain ebooks have given me a myriad of things to look forward to.
The Monday post spot in this blog means a lot to me, and I had to find a way to solve the posting problem while traveling. Since I cannot bring much stuff, my computer and big camera have to stay at home. Thus, I solely have to rely on the Ipad and Iphone. I researched on the best apps to use, but none seemed to be the replacement I was looking for. Finally today, I settled on Blogsy for posts, Filterstorm for resizing and other photo lighting corrections and the Iphone to snap the pics. This is by no means an ad! But I just wanted to share this for those of us who blog and travel.
This is my first posts using all these together and still on another trip. I do look forward to next Monday knowing that I can now truly be creative and share from wherever I am.
Happy Monday everyone and do share if you have suggestions and tips for the traveling embroidery blogger!