Hullo! Finally, we are finishing this doll quilt! :-) All the patterns have been stitched up, and overhanded together. Now it says in the book to baste it to lining, turn in and overhand together. Well, as much as I did start to enjoy overhanding, I regret to report that I did not finish it this way as I was not looking forward to overhanding for the rest of my days (it's quite tedious if the fabric is thick!)
Instead I decided to use some bias tape I had laying around and used some left-over fabric for the lining.
Now, I must admit I have never applied bias binding to a quilt all by myself before! So I kind of had to google my way on this one :-) I found this tutorial by the Sew to Speak blog to be just right for my newbie comprehension skills.
In reaching my corners, I marked where I should stop or begin with a pen as I was afraid my estimation skills would mess it up.
After sewing on the bias tape, I trimmed all 3 layers close to the stitch line since my bias tape was not that wide and would appreciate not having all that bulk when turning over.
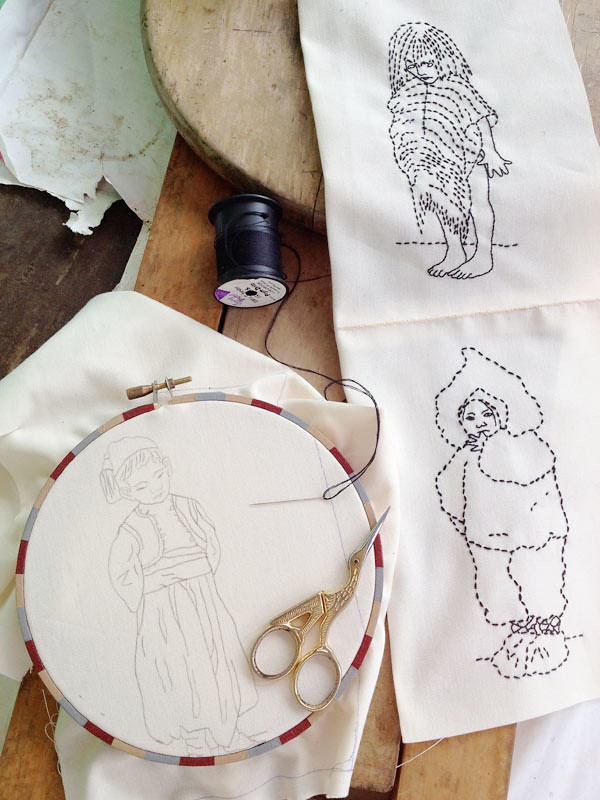
After the binding was put on, I then prepared some yarn cut to 4" length to use for tacking the quilt.
I tried using just a needle to do this, but goodness! I had such a battle making it go thru all the layers! So, a better idea had to be conjured. A few weeks ago I had picked up a setting tool at a local bookstore for no particular reason. Okay, the reason is always "might need this one day" :-) Well, that and it looked cute. Anyways, I took it out and made some holes for my yarn to gracefully glide into.
And it worked beautifully! (Although it was so efficient, it was punching the holes straight thru my cutting mat!)
After putting in all the tacking, it looked quite a bit sparse so I put one more thread in. This time just going under the stitch and not thru the hole.
And that is the end of the doll quilt :-) I don't have any daughters with dolls, and my dolls are a little too small for this quilt... but I do have a real live baby boy who will enjoy pulling all the yarn on this :-)
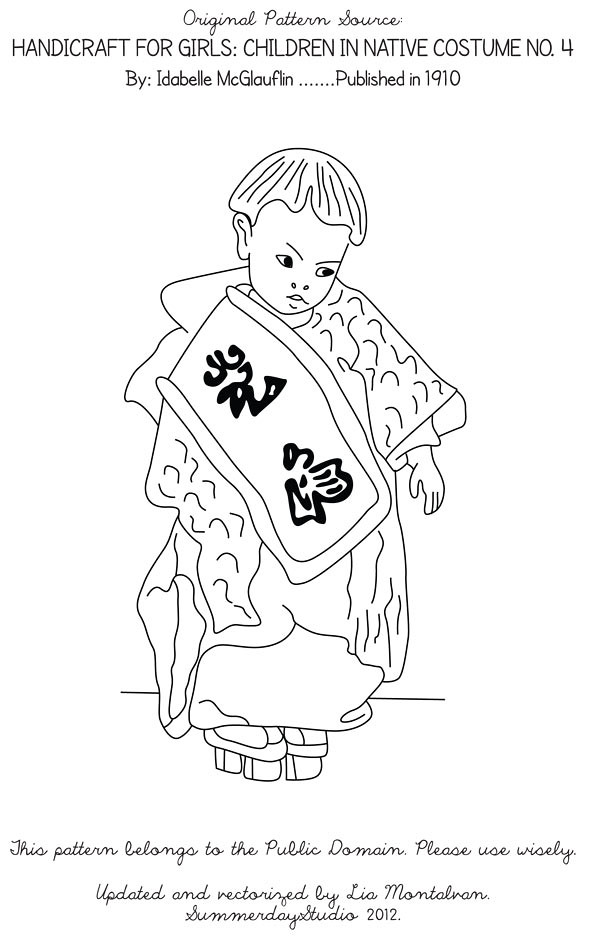
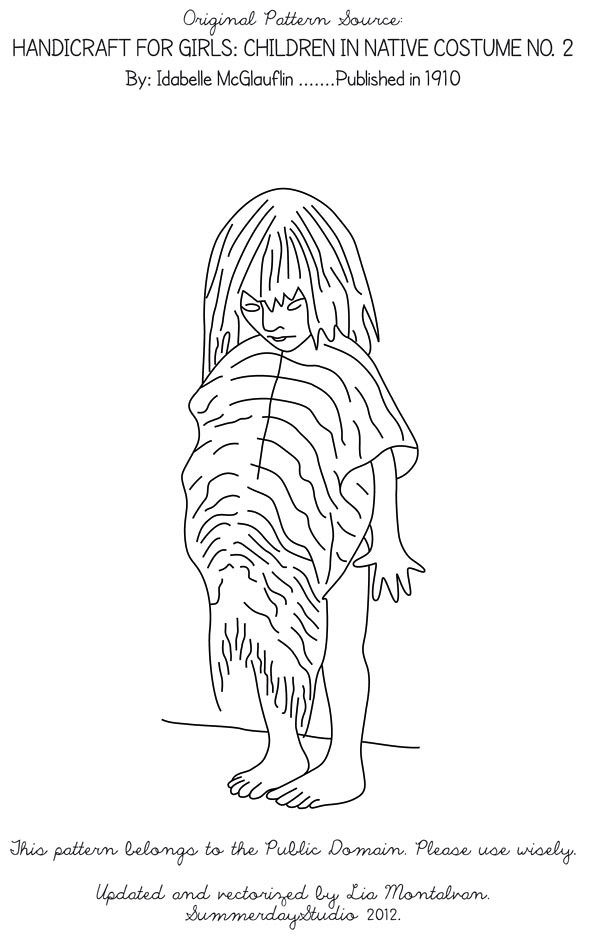
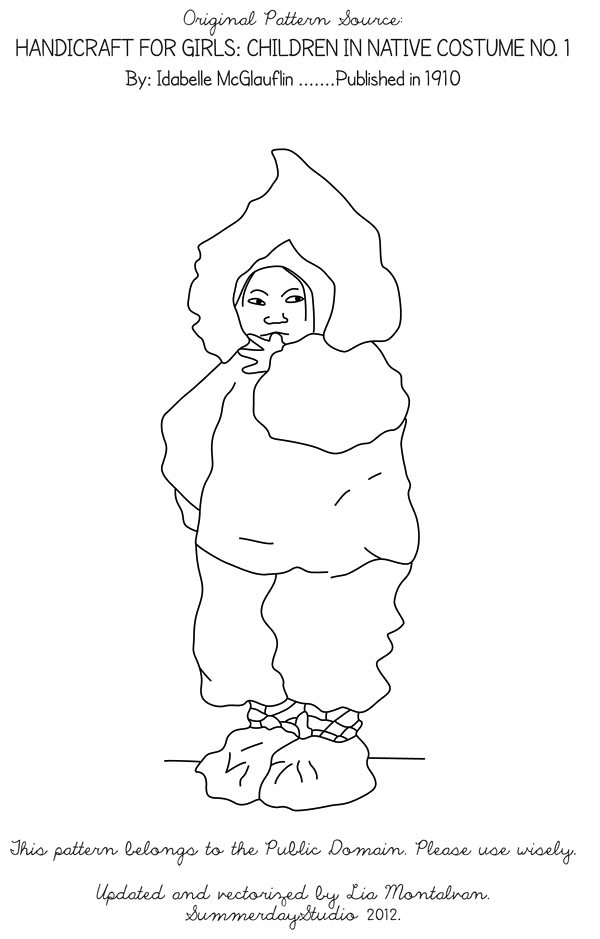
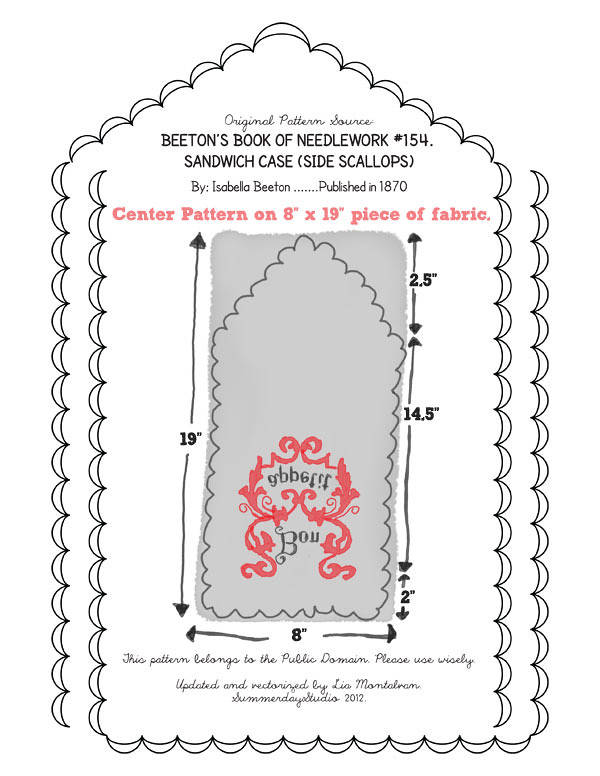
If there is anything in old embroidery ebooks that you would like me to feature here, or someone who makes stuff from them, do let me know! It would be great to share with everyone else the treasure trove in these books. Have a lovely week ahead everyone!
(To get all the patterns and see the work in progress: click here)
Showing posts with label Embroidery Ebooks. Show all posts
August 20, 2012
July 30, 2012
Handicraft for Girls: Doll Quilt Pt. 4
Hullo! Happy Monday everyone. We are finally on our last pattern for the doll quilt. I am still stitching up Kid #3 and have finished the overhand stitches of the first two pieces.
Here is a more detailed shot of the finished overhand stitches (and yes, the thread color did grow on me and some of you were kind enough to leave a comment about it, thank you!):
And here I go on the 3rd pattern. To recap, I have veered away from the original instructions by adding backstitches for my details. I will also be adding some satin stitching in the last two patterns to cover solid areas. Like this one has button details that will look better satin stitched I think.
If you are just catching up now, you can find the first 3 patterns here: Part 1, Part 2, Part 3 and the joining with the Overhand stitch.
Thank you to those that replied with great embroidery and traveling tips on the last post! Enjoy your week everyone and happy stitching!
June 18, 2012
Handicraft for Girls: Doll's Quilt Pt. 2
Hullo! We are now on to the second embroidery pattern from the Handicraft for Girls book. For those who want to catch up and make this doll quilt, check out Part 1.
It does not state in the book which cultures these costumes are from, and since it is a school instruction book I presume that the patterns were reflective of the other lessons. Thus, they probably did not feel the need to elaborate. Maybe it's that vagueness that makes old books written in the language of their time so romantic and mysterious for some of us :-)
Have a happy stitchy week up ahead!
June 11, 2012
Handicraft for Girls: Children in Native Costume Doll's Quilt Pt. 1
Hullo! Our next project is from the book Handicraft for Girls by Idabelle McGlauflin, published in 1910.
In Chapter 2 of the book, an embroidery pattern of 4 children in native costume are provided and to be used in the different exercises.
Each design is embroidered with running stitches on a 6" x 8" piece of unbleached muslin. Now, it says to use "colored thread No. 50", and once again I have no idea what color that will be so enlightenment is welcome of course.
When done with the designs, we will continue to make the elective exercise which is a doll's quilt:
To attach the designs together, it states that they are to be "overhanded together" by turning a quarter-inch fold on the long side of both pieces and basting the folded pieces together and overhand.
The stitch is not shown in the book, only described so I went to look for an illustration and found this from ChestofBooks.com. It is the overhand stitch as described and illustrated in School of Needlework. A Course Study in Sewing designed for use in Schools:
Should you wish to make this too, a pattern will be provided after each part every Monday. We will begin this week with Child in Native Costume No. 1:
Have a lovely week ahead everyone and keep on stitching!
Part 2.
In Chapter 2 of the book, an embroidery pattern of 4 children in native costume are provided and to be used in the different exercises.
Each design is embroidered with running stitches on a 6" x 8" piece of unbleached muslin. Now, it says to use "colored thread No. 50", and once again I have no idea what color that will be so enlightenment is welcome of course.
When done with the designs, we will continue to make the elective exercise which is a doll's quilt:
The stitch is not shown in the book, only described so I went to look for an illustration and found this from ChestofBooks.com. It is the overhand stitch as described and illustrated in School of Needlework. A Course Study in Sewing designed for use in Schools:
Should you wish to make this too, a pattern will be provided after each part every Monday. We will begin this week with Child in Native Costume No. 1:
Have a lovely week ahead everyone and keep on stitching!
Part 2.
June 4, 2012
Beeton's Book of Needlework: 154. Sandwich Case Pt. 4
Hullo everyone! Sorry to have been gone so long and not updating on this project. I actually delivered a baby boy last month and have been on mommy duty since :-) And now that we have finally settled down with our new routine, I can go back to my Monday posts here on Feeling Stitchy.
For those who are just seeing this now and would want to make one, you can check out and get the patterns from: Part 1, Part 2 and Part 3.
Back to our little sandwich case. We got the embroidery and beadwork done:
For those who are just seeing this now and would want to make one, you can check out and get the patterns from: Part 1, Part 2 and Part 3.
Back to our little sandwich case. We got the embroidery and beadwork done:
Next up, I transfered the design unto the fabric. I used a picnic table cloth that I found for cheap as the lining fabric since I could not find any oil cloth here. You don't have to transfer the design onto the lining, just baste them together like so:
Then next I started on the scallop stitches using two threads.
Then I cut them out to prepare for the button-hole stitch. (Sorry for the change in lighting, these were taken at night):
I used two threads of black for the button-hole stitch. There's grey threads sticking thru on the top part, so it might have been better to use three threads. But I already find it thick as it is so I will continue using two.
And this is where I am at after a month and half and a one baby later :-) I will post the finished Sandwich case on the Embroidery pool on Flickr this week and next Monday tackle a new project!
P.S. Yes, the embroidery is not centered, it happened when I transferred the design :-( Something I really have to watch out for in the future. I am comforting myself by saying, "That's its charm."
April 30, 2012
Beeton's Book of Needlework: 154. Sandwich Case Pt. 3
Hullo! The chain-stitching is all done and I have started on the Overcast Stitch. It's my first time to do this stitch to tell you honestly, and as you can see, the lower part of my B came out a little wonky. Oopps. Otherwise, it was fairly easy and pretty quick to do once the momentum got started.
I ended up using 4 strands for the laid threads and 3 strands for the threads that go over it. Black was the color suggested by Mrs. Beeton, and right she was as it does look lovely with the red, grey and ofcourse the steel beads! The beads are anchored down with 3 strands of black as well.
All in all, it is progressing smoothly and thank you for all your kind comments! Next up will be to finish it all neatly (I HOPE!) with some scallops and get this Sandwich Case all done and ready for use.
I hope these instructions can be understood! I will show the assembly on Part 4 so hopefully I can let this pattern make sense. For those who want to make this Sandwich Case, please visit: Part 1 and Part 2 and kindly read the comments as there are so many great inputs from our lovely readers (specially with regards to the "kid" material!).
Have a wonderful week ahead everyone!
April 16, 2012
Beeton's Book of Needlework: 154. Sandwich Case Pt.1
Hullo! My name is Lia from SummerdayStudio blog and I am so excited and happy to be blogging for Feeling Stitchy this year. Best of all, I get to share with all of you my love for Public Domain Embroidery books and all the little projects and patterns that they have to offer.
This week I am sharing with you a cute little project from Beeton's Book of Needlework. It is a sandwich case, which the book describes as "...very useful on the occasion of a journey or picnic, as it can be carried in the pocket without any inconvenience."
For the edges, it is suggested that the Scallop Stitch be used.
It is important to note that in assembling the final piece, the scallops on both sides are joined together and then worked in a scalloped button-hole stitch, like so:
The book states that the words "Bon appetit" are worked over in Overcast Stitch with black purse silk and steel beads (for a better sample, check out Stitch School's Overcast Stitch):
The scroll pattern is worked in Chain Stitch with red silk.
Since most of the patterns and projects found in public domain books are small and not to scale, and oftentimes hard to decipher, I have taken the liberty to vectorize them to the best of my ability, eyesight and judgement. My only hope is that I can give justice to these lovely little marvels and that you may find something you would enjoy to embroider one of these days.
Hope you all have a wonderful week ahead and enjoy meeting more new bloggers for the site. I will be back next week with my work in progress for Part 2 of this entry :-) Feel free to post your photos in the Embroidery group in Flickr should you also be so inclined to make yourselves a nifty lil' sandwich case too :-)
Thank you again to Floresita, Feeling Stitchy and all the wonderful readers of this blog for the lovely welcome!
Meet the New Bloggers: Lia
All this week I'll be introducing our wonderful new bloggers on Feeling Stitchy! We received many responses from many extremely talented peeps, and it's an honor to be able to blog with so many extraordinary people.
First up on our new blogger list is Lia, you may recognize her from her personal blog Summerday Studio where she blogs on all sorts of topics like crafting, food, art, and clothing.
A little bit more about Lia:
Lia runs a farm during the day and crafts into the wee hours of the night. She was going to be a lawyer, but ended up in art school. She continues to hone her craft in embroidery and other needlework by spending copious amounts of time deciphering old books that she finds in second-hand bookstores and online.
You may also recognize her as the winner of last year's May stitch along contest- she stitched a perfect, tiny version of Cate Anevski's pattern on a Blythe dress:

Look for Lia on Mondays when she'll be sharing projects from Public Domain Embroidery books. Welcome, Lia! :)
Hi, I'm floresita, editor of Feeling Stitchy. I'm an avid stitcher, knitter, and crafter. You can see more of my stitching on Instagram and my blog. My vintage transfer collection is on Vintage Transfer Finds.
Feel free to email me with any ideas for the blog!