Showing posts with label embroidered pendant. Show all posts
November 15, 2012
agulha não pica giveaway
Olá! Today is a very special day... I've been posting every Thursday since April and for me all Thursdays became special days...
I love the opportunity of researching and sharing Portuguese traditions, I love your kind comments and the mails I've been receiving. And I loved the coincidence of my birthday falling on a Thursday... So I decided to celebrate it properly... And I'll do it sharing my joy with you. I believe that a giveaway is a nice way of doing it. Don't you think?
Let's do it as if you were going shopping. I invite you to visit my agulha não pica ETSY shop. There you can browse my Embroidery Kits, Patterns or children burlap embroidery kits sections (and all the others obviously). Choose your favorite product and write its name on a comment to this post. That way you'll be applying to win it!
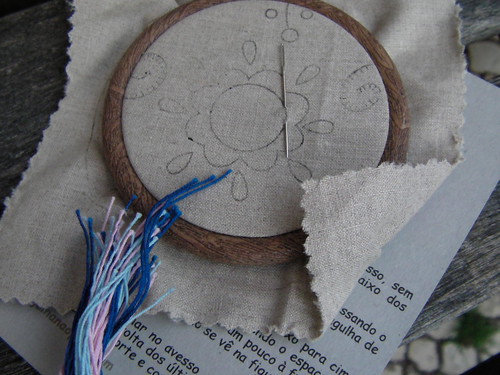
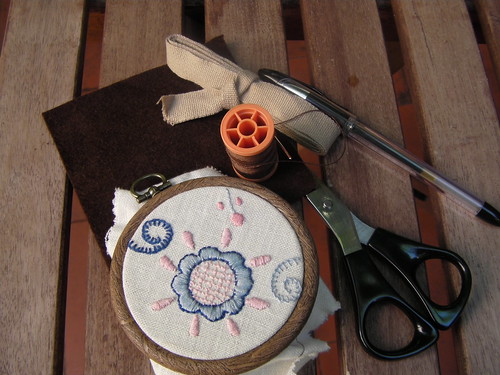
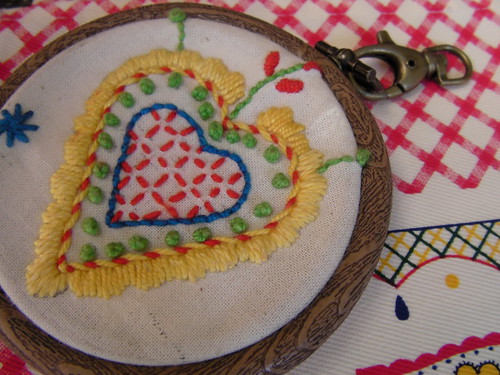
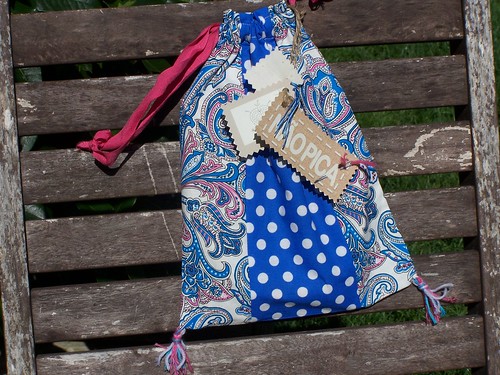
You can choose one of my beginner kits inspired by Portuguese traditions, like the ones with a heart or a Japoneira inspired by Viana do Castelo embroidery or the other one with a paisley pattern. All my beginner kits come in beautiful drawstring bags, taleigos.
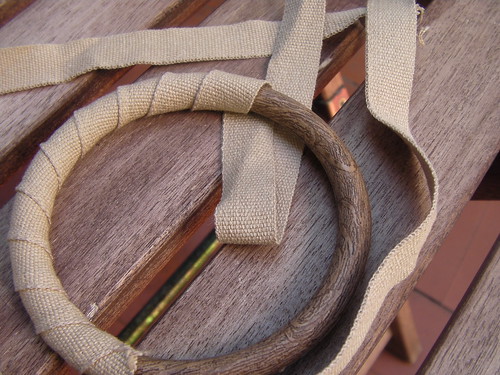
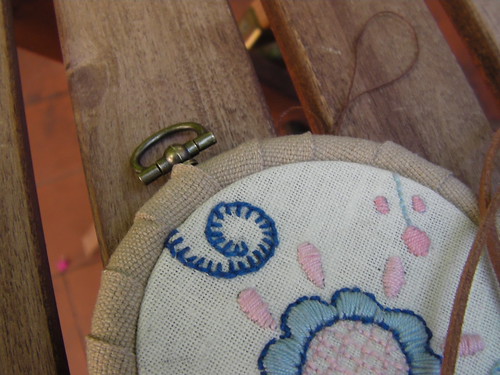
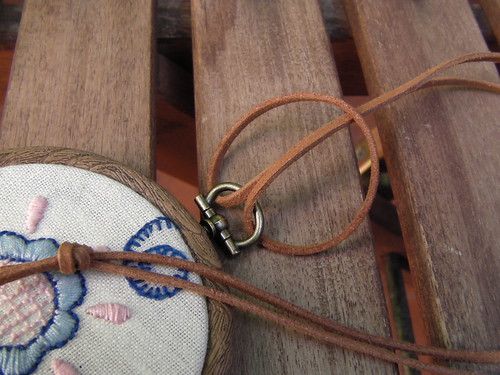
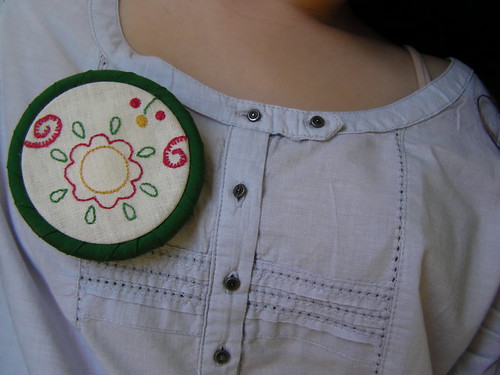
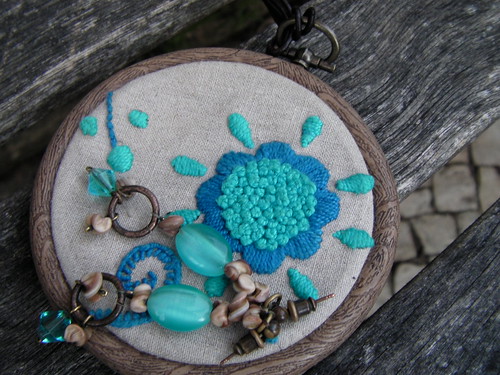
You may prefer an embroidery kit that comes with all the material and instructions to make your own embroidered pendant that you can use in a necklace or in a keyring.
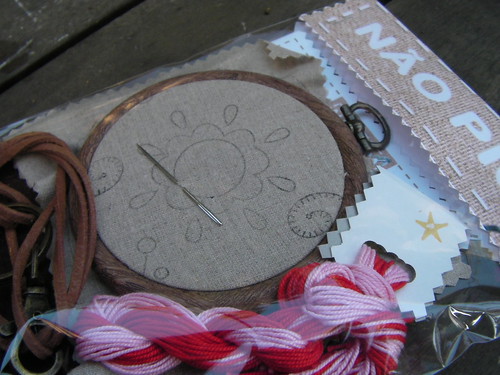
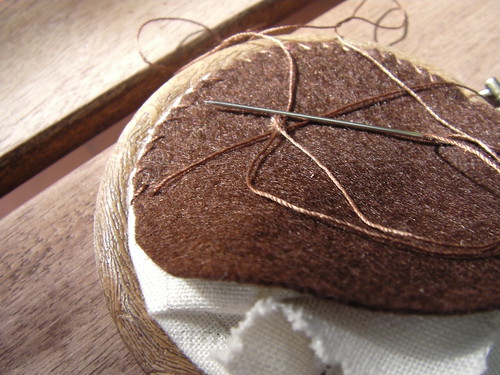
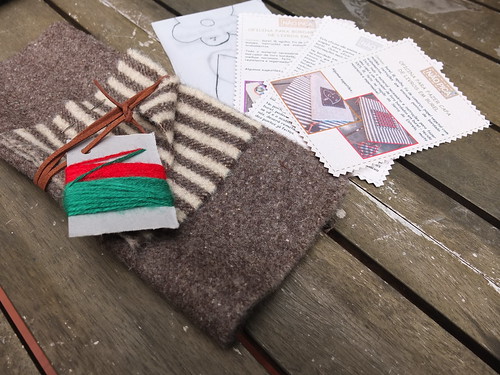
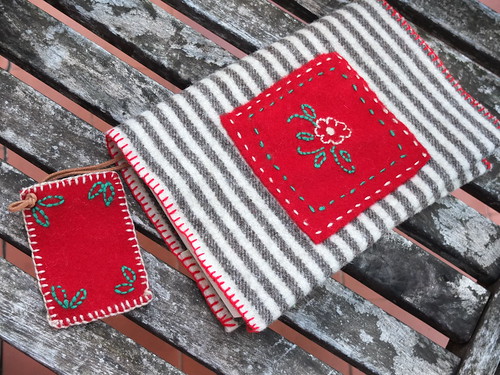
Or is it better for you to choose a new kit that just arrived in my Etsy shop? Made of Portuguese felted wool, this kit will allow you to make a wonderful book cover embroidered with a Portuguese traditional motif. It comes with all the material needed and step by step instructions.
But if you are more interested in kids craft kids you're welcome too, you'll find there lacing card kits or card decorating kits...
All these products were created by me using Portuguese supplies and inspired by Portuguese traditions that I bring here each week. It's your opportunity to make your own stitches with Portuguese soul.
So... Don't forget to leave a comment on this post with your favorite product from agulha não pica shop. There will be two lucky winners... And they will receive their favorite product. They will be randomly picked from all the comments.
But if you want to make a general comment about the shop, you'll be applying to a special Christmas gift, too. In that case I will choose my favorite comment.
Write your favorite product and a comment about the shop and you'll be applying to win both gifts!
Comments will be closed on 9 PM Nov.18, U.S. CST and winners will be announced next Thursday.
And to all of those celebrating their anniversary today: PARABÉNS!
(and we have one of "those" among us, here in feeling stitchy, I'm not alone!!!)
August 9, 2012
Embroidery and vanity...
When I began selling in craft shows, I soon understood that women often cannot resist buying a new necklace or bracelet... I observed other crafters and even if their work is very original and beautiful no one can beat those that are selling a little piece of vanity :)). I don't know if this happens everywhere... But in Portugal I can assure it is as I described! So, I thought: "Se não os podes vencer junta-te a eles".... Sorry... Now in English: "If you can't beat them join them"!! And I began creating kits that teach you how to make a necklace with an embroidered pendant. And that's what I'll show you today...
How to make your own embroidered necklace using a flexi hoop. Let's begin!
Embroider it as you like, using the stitches you know. If you prefer you may use a bigger embroidery hoop, it's easier than a 3" hoop, and in the end change the embroidery piece to the flexi hoop. With the embroidery already done you'll need to finish the back of your embroidered pendant.
To finish your pendant, here are all the materials you'll need:
Using the embroidery hoop as a mold, cut out a felt circle for the back cover. Then stitch the felt to the embroidery piece, I used a whip stitch. If you want a different finish, you can choose to wrap the flexi hoop with a ribbon. At the end you must attach the suede cord to the pendant.
Instead of using the suede cord you can use a ribbon to obtain an original final look...
I made this one for me, I wanted to wear it with these earrings... It's a success everywhere I go...
You may prefer to wear it as a brooch or opt for a keyring if jewelry is not for you...
Hope you like it!!! If you make your own let me know... I would love to see it...
These patterns are both inspired by Portuguese traditional embroidery... Which kind of pattern would you choose?
How to make your own embroidered necklace using a flexi hoop. Let's begin!
For the embroidery: you need to have a 3" flexi hoop, a pattern, a needle and embroidery floss.
![]() |
| Material needed to embroider your pendant |
To finish your pendant, here are all the materials you'll need:
![]() |
| Material needed to finish your pendant |
![]() |
| Cutting out a felt circle to obtain a back cover. |
![]() |
| Using a whip stitch to finish the back cover. |
![]() |
| Wrapping the hoop with a ribbon. |
![]() |
| With a wrapping finishing. |
![]() |
| Adding the suede cord. |
![]() |
| An original final look obtained with a red ribbon. |
![]() |
| Specially made for me!!! |
![]() |
| Using a flexi hoop as a brooch... |
![]() |
| An embroidered keyring... |
These patterns are both inspired by Portuguese traditional embroidery... Which kind of pattern would you choose?


