October 1, 2013
Tutorial Tuesday
Hi, I'm Kristen! I am a lover of all things stitchy and crafty. I have been sewing for as long as I can remember. My grandmother taught me how to sew Barbie clothes when I was young and I have been sewing ever since.
You can find me at Bobbypin Bandit, on Instagram, and my Etsy shop.
August 2, 2013
Reginalds in progress, part 2
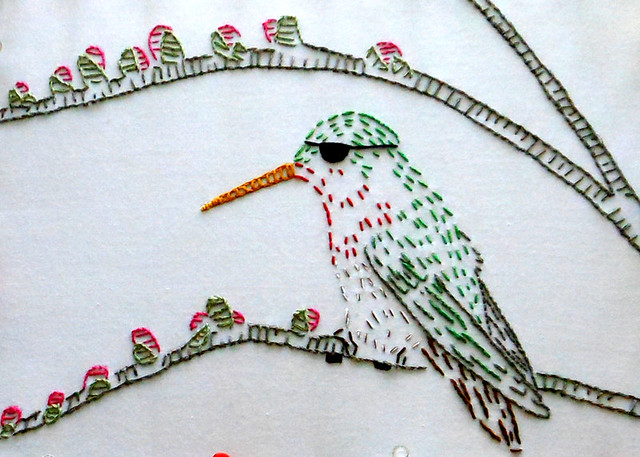
Stitched by Rose
The Midsummer Stitchalong is really inspiring some beautiful stitching! Look at the sweet, vibrant colors on this Reginald by Rose. Gorgeous!
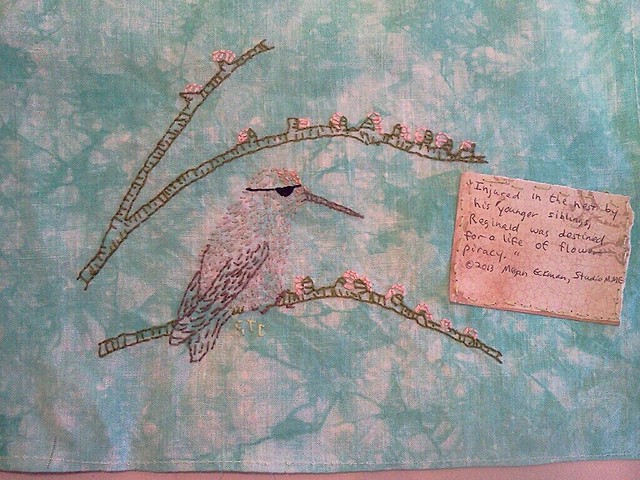
Stitched by Sandy
Or how about this lovely Reginald, stitched on vibrant, imaginative fabric, in pretty shades of browns and pinks. Beautiful work, Sandy!
How many of you have a Reginald in progress? Don't forget to share him - we'll be stitching Reginalds through the end of summer, so there's still plenty of time to get stitching! To find the pattern, visit the Midsummer Stitchalong post.
Hi, I'm floresita, editor of Feeling Stitchy. I'm an avid stitcher, knitter, and crafter. You can see more of my stitching on Instagram and my blog. My vintage transfer collection is on Vintage Transfer Finds.
Feel free to email me with any ideas for the blog!
July 12, 2013
Reginalds in Progress
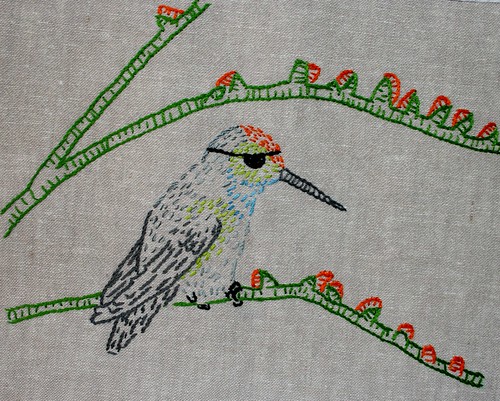
Stitched by Debbie
Oh my goodness! There are already TWO amazing Reginalds on the Embroidery pool! This one, stitched by Debbie, using parts of the color guide and her own variations, is flawless. Visit her blog post for photos of her finished project, which includes the quote by Megan in an adorable wall hanging. Epic work, Debbie!

Stitched by Kristen
Our own Kristen is stitching Reginald in some gorgeous colors of her own choosing - absolutely beautiful work! Visit her blog for details on the fierce summer storm she stitched through, making the stitching of Reginald quite epic indeed!
How about you? I think it's time to see some more Reginalds in the pool! Visit our first post to download the wonderful pattern by Megan of Studio M.M.E. and remember we love in-progress works, too, so be sure to add you unfinished works as well in the Embroidery pool. More Reginalds! More flower pirates! :)
Hi, I'm floresita, editor of Feeling Stitchy. I'm an avid stitcher, knitter, and crafter. You can see more of my stitching on Instagram and my blog. My vintage transfer collection is on Vintage Transfer Finds.
Feel free to email me with any ideas for the blog!
July 2, 2013
Midsummer Stitchalong with Studio MME
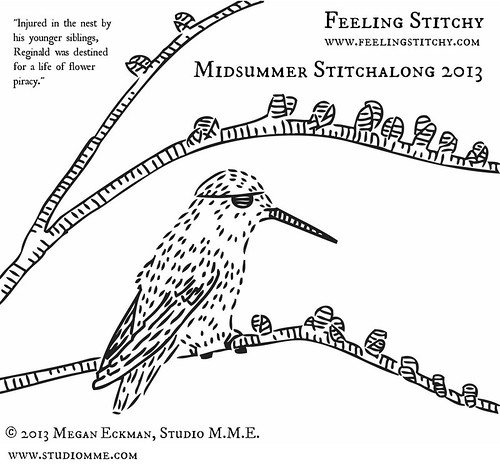
Megan Eckman of Studio M.M.E. graciously provided this gorgeous pattern for our stitchalong. I love Megan's illustrative style - her richly textured line drawings remind me of all the wonderful cover art on my favorite books as a child - her images are so imaginative, dark, and dreamy. In her shop, Megan sells prints, jewelry, embroidery patterns, and an embroidery of the month club - where she shares 12 months of embroidery patterns. I'm also excited about her illustrated book, How To Outsmart Tea Pirates, which I may have to add to my summer reading collection...
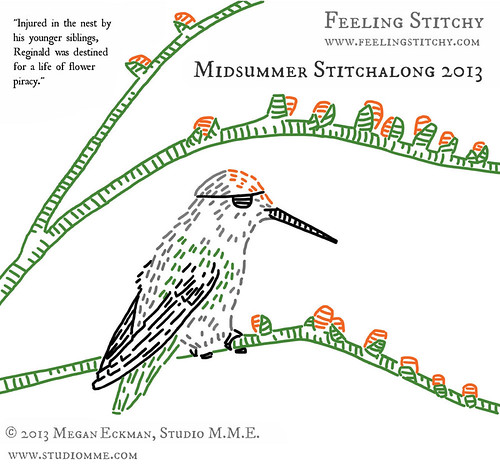
I love Megan's signature monochromatic style, but if you'd like to stitch Reginald in color, she has also provided a color version of the pattern:
Megan says this of her pirate hummingbird:
"Injured in the nest by his younger siblings, Reginald was destined for a life of flower piracy."
Isn't he amazing? Ok, so if you've never participated in a stitchalong, or even know what one is - it's simple! Use the pattern to embroider something, anything! Choose the colors and background you like, and post your stitching photos in our Flickr embroidery group.
I love to see and share in-progress photos as well, so please post your progress, even if you're not finished yet - we'd still love to see it! We'll run the stitchalong through the end of August - every other week or so I'll update you with my progress and share some of your stitching here. And there just might be a prize at the end of this stitchalong to motivate you to get your summer stitch on... Sound good?
Well then, let's get stitching! Thanks again, Megan, for sharing your talent with us!
Hi, I'm floresita, editor of Feeling Stitchy. I'm an avid stitcher, knitter, and crafter. You can see more of my stitching on Instagram and my blog. My vintage transfer collection is on Vintage Transfer Finds.
Feel free to email me with any ideas for the blog!


